Guides
How to make a pacifier cord with a name
Personalized, practical and pretty: a self-made charm with a name
Do you want your bracelet to be as unique as your child? How about creating your very own personalized pacifier chain with a name? It’s not only a personalized gift at birth, but also a stylish accessory for the child. What’s more, the dummy chain is a support in many parents’ everyday lives (how many times have you searched for dummies?).
Here you’ll find our crafting instructions for making your own tassel chain with a name that’s a fantastic DIY experience – both to make and to receive as a gift!
PS: If you don’t want to create the link yourself, we offer to put together a personalized tuxedo link based on your choices here:
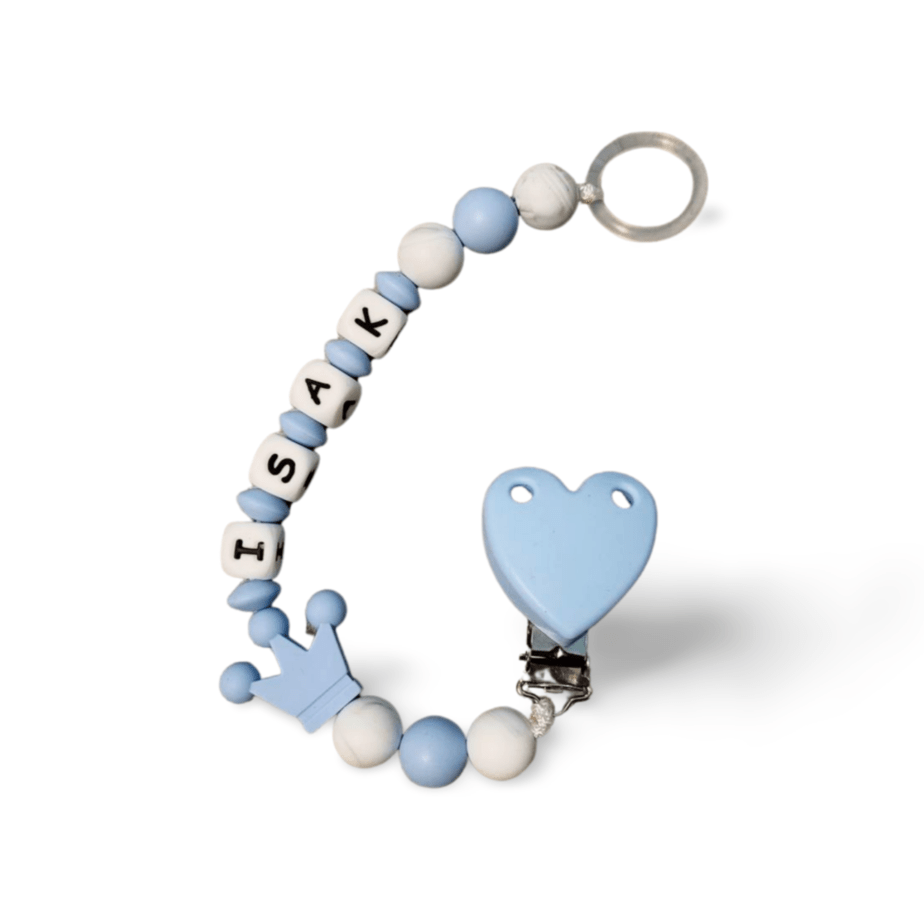
Pacifier cord with name
A personalized chain with your child’s name and the option to choose colors, motif beads and clips. We make the links by hand and use your choices as the main base for the beads.
Do you want the motif bead and name reversed? See our Personalized Bead Box.
Jump to step
Our dummy chain craft instructions explain in easy-to-understand steps how you can easily make your own dummy chain. Making a pacifier chain is easy, even for inexperienced craft enthusiasts. You will need about 10-15 minutes. So: Be creative and enjoy designing your own tuxedo chain. Have a lot of fun with crafts!
Materials
The materials that are necessary and good to have ready before you get started:
- 1 clip
- Thread (preferably around 1-1.2mm)
- Motif bead(s)
- Round silicone beads in the colors of your choice
- Silicone letter beads (for the name you plan to make)
-
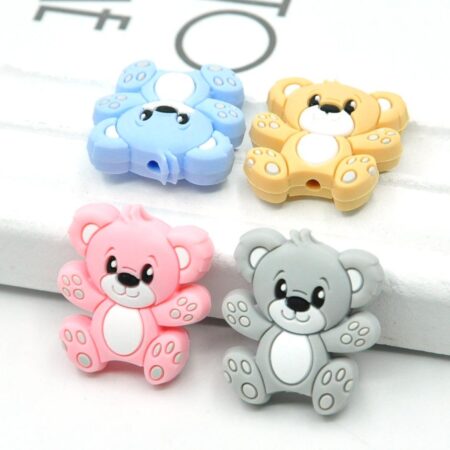
 Teddy bear – Motif bead1,62 €
 -
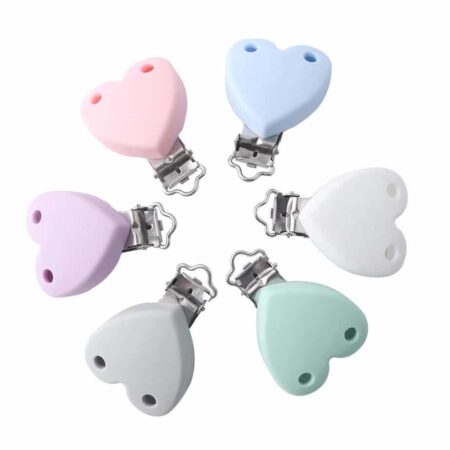
Silicone clip – Heart2,98 €
-
White Letter Beads – Silicone – 12mm0,68 €

The equipment needed:
- Scissors
- Lighter
- Ruler / yardstick / measuring tape
Step 1: Experiment with colors, beads and motifs
The craft material you’ve chosen for your tuxedo chain is right in front of you? Fantastic! Then we can start with the actual craft work: Your creativity is in demand! Experiment playfully with the placement of the beads. Swap out individual beads, try out different colors and shapes – and design your dream bib bead by bead with lots of fun. One small limitation to your creativity is the maximum permitted length of 22 cm for pacifier holders – measured including the loop, but without the clip!
You can easily hide the knot on the bow with a safety bead. It has two holes of different sizes so that the knot on the bow can be hidden inside it. Make sure that the larger hole on the safety bead points outwards.
Step 2 – Prepare the thread
Do you like the design of your pacifier chain? Fantastic! Then it’s time to get ready to thread on the beads. Double the PP polyester cord so that it is slightly longer than your bib chain design.
Without using a small tool, it will be difficult to thread the beads. Let’s use this little trick: Thread a thread through a needle. You need the thread because otherwise you won’t be able to remove the needle from the finished charm. Knot the thread as tightly as possible at the end of the string loop – otherwise it may come loose during threading. You can now easily pass the needle through the beads. The thread will pull the cord through them.
Step 3 – String on the beads
We begin by threading the beads on the side where you will later attach the clip: slide bead by bead onto the needle and then onto the string. The result: threaded beads. On one side, you will now find a loop where you can later attach the pacifier. On the other side, the two string beads remain. Remove the sewing thread with the needle from the string.
Step 4 – Secure tying
Knot the loop so that it is still wide enough for the pacifier to be attached to it later. The clip can help you: If it fits through the loop, it’s big enough. Push the beads towards the knot. If you’re using a safety bead for the pacifier loop, the knot will now disappear into the larger hole on the bead.
Step 5 – We party on clips
Let’s attach the clip to the chain: Make a half-knot on the side of the tuxedo clip with the two ends of string. Thread the dummy chain through the metallic eye loop on the dummy clip and secure it with a double knot.
Just before tying the knot, carefully shorten both ends of the PP string with scissors. Carefully melt the ends of the cord with a lighter and let them melt into the knot by pressing them together with your fingers.
It is very important that you secure the knot properly and carefully. That’s the only way it won’t come loose!
Step 6 – Safety check
Now perform a quick visual inspection: Look for sharp corners and edges or detachable parts. Check the length: Does the dummy chain comply with the prescribed maximum length of 22 cm?
Check the tear strength: Pull the pacifier chain with all your might. If you can’t break the chain, your child won’t be able to either. Pay particular attention to ensuring that the knot on the clip does not loosen during the tensile test.
That’s it! You are now proudly holding your individual pacifier chain in your hands. We hope that both you and your baby will enjoy wearing it!